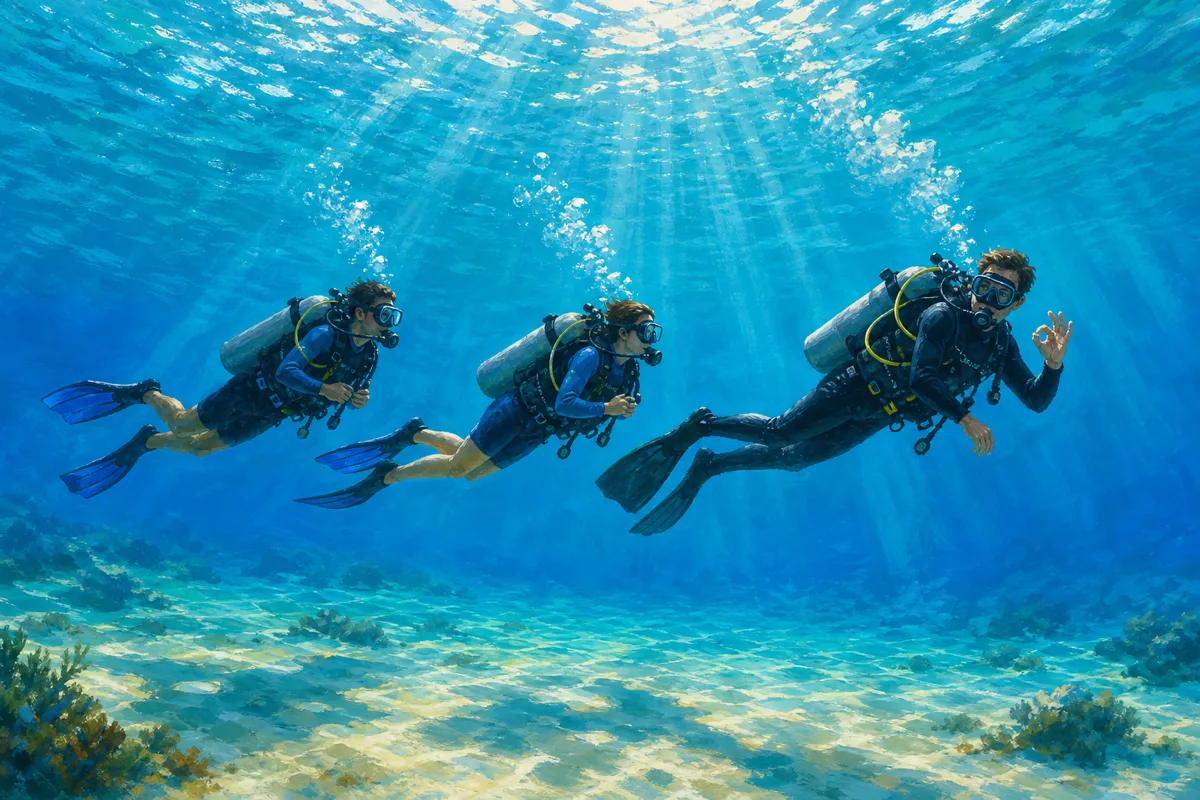
Komodo National Park is one of those rare places where the diving feels almost too good to be real. Crystal-clear water, currents that bring in pelagic species by the dozen, and reefs so healthy they look like they were planted by a set designer. For underwater photographers, it is about as close to paradise as it gets.
Whether you shoot with a compact camera or a full mirrorless rig, the variety here means you will never run out of subjects. Manta rays cruise through cleaning stations, pygmy seahorses hide on gorgonian fans, and schools of fusiliers swirl against deep blue backgrounds. The challenge is not finding something to photograph. It is choosing what to leave out. A Komodo liveaboard is the most practical way to reach remote sites and log multiple dives per day, giving you the time and access that great underwater photography demands.
Why Komodo Is a World-Class Destination for Underwater Photography
Several factors make Komodo stand out from other tropical dive destinations when it comes to photography.
Biodiversity in a compact area. The park sits at the intersection of the Indian and Pacific Oceans, a convergence zone that supports over 1,000 species of fish and 260 species of reef-building coral. That kind of density means you can shoot wide-angle on one dive and switch to macro on the next without traveling far.
Reliable megafauna encounters. Manta rays are present year-round at sites like Manta Point and Cauldron, though the best months are roughly December through February. Unlike some destinations where sightings are hit or miss, Komodo delivers consistent encounters that let you refine your shots over multiple dives.
Excellent visibility. Water clarity in the northern sites regularly reaches 20 to 30 meters, especially during the dry season from April to November. Southern sites can be greener and more nutrient-rich, which attracts mantas but reduces visibility to 10 to 15 meters.
Healthy, photogenic reefs. The reefs at sites like Batu Bolong, Tatawa Besar, and Siaba Besar are dense with soft corals, sponges, and sea fans in vivid colors. You do not need to travel to deep walls to find compelling wide-angle compositions.
Essential Camera Gear for Komodo Diving
Packing the right gear depends on what you want to shoot, but Komodo rewards versatility. Here is a practical breakdown.
Camera Bodies
Any modern mirrorless camera works well. Full-frame sensors handle low light and high ISO situations better, which matters in Komodo's nutrient-rich southern waters. APS-C and Micro Four Thirds bodies are lighter and pair nicely with compact housings, making them popular on liveaboard trips where luggage space is limited.
Compact cameras like the Olympus TG-7 or Sony RX100 series remain a solid choice for divers who want quality results without the bulk. Many of the best images from Komodo come from shooters who keep their rigs simple and focus on composition and timing.
Lenses
- Wide-angle (10-17mm fisheye or 8-15mm): Essential for manta rays, reef scenics, and split shots. You will use this lens on at least half your dives in Komodo.
- Macro (60mm or 100mm/105mm): Komodo's macro life is underrated. Pygmy seahorses, nudibranchs, blue-ringed octopus, and various species of frogfish are all common finds.
- Mid-range zoom (24-70mm equivalent): Useful for fish portraits and medium-sized subjects. Not essential but nice to have if your housing supports lens changes between dives.
Lighting
Two strobes are the standard recommendation for balanced wide-angle lighting. Bring diffusers to soften the output and reduce backscatter, especially at southern sites where particulate matter is higher. For macro work, a single strobe or a pair of video lights can work, though strobes freeze motion better and produce crisper results on small, fast-moving subjects.
Pack spare batteries, O-ring grease, and a set of fiber-optic cables or sync cords. Liveaboard camera rooms usually have charging stations, but salt air and humidity can be hard on connections.
Accessories Worth Bringing
- Flat and dome ports: Match your ports to your lenses. A large dome port (at least 8 inches) is critical for sharp corners on wide-angle shots.
- Focus light: A small red or white focus light helps your camera acquire focus in dim conditions or during night dives.
- Lens cloth and sensor cleaning kit: Humidity on deck can cause condensation inside your housing during setup. Let your gear acclimate and clean your sensor before the trip.
Best Dive Sites in Komodo for Photography
Not all dive sites are created equal when you have a camera in hand. Here are the ones that consistently deliver the best photographic opportunities.
Batu Bolong
Often called the best dive site in Komodo, Batu Bolong is a small rock pinnacle surrounded by steep walls covered in soft corals. The colors are extraordinary, and the fish life is dense. Currents can be strong, so plan your dive around slack tide for the easiest shooting conditions. Wide-angle is the clear choice here. Shoot upward to silhouette schools of fish against the surface light, or get low among the corals for close-focus wide-angle compositions.
Manta Point
The name says it all. Manta Point is a cleaning station where reef mantas come to have parasites removed by cleaner wrasses. Visibility is often lower (10 to 15 meters) because the nutrient-rich water is exactly what attracts the mantas. Use a wide-angle lens, set your strobes to low power or turn them off entirely to avoid startling the animals, and let the mantas come to you. Patience is the single most important tool at this site.
Siaba Besar
Siaba Besar is a gentle, current-free site that works beautifully for both wide-angle reef scenics and macro. Green turtles rest on the coral heads and are remarkably relaxed around divers. The shallow reef top catches gorgeous natural light in the mornings, making it one of the best spots in Komodo for ambient-light photography.
Tatawa Besar
A sloping reef draped in soft corals, Tatawa Besar is a drift dive that feels like flying over an underwater garden. The trick for photographers is to manage your buoyancy carefully so you can hold position for shots without damaging the reef. Current here is usually mild, and the colors are best in the 10 to 20 meter range.
Crystal Rock
Crystal Rock is a submerged pinnacle with clear water and big schools of fish. Barracuda, trevally, and sweetlips congregate here, making it ideal for schooling fish photography. The visibility is often among the best in Komodo, which means you can use faster shutter speeds and lower ISO for cleaner images.
Shotgun
A narrow channel with fast-moving current, Shotgun is for experienced divers who want action shots. Sharks, eagle rays, and large pelagics pass through regularly. The current pushes you through quickly, so set your camera to continuous shooting mode and be ready before you enter the channel.
Camera Settings That Work in Komodo Conditions
Komodo's conditions vary a lot between the northern and southern sites, so fixed settings rarely work for an entire trip. Here are starting points that you can adjust on the fly.
Wide-Angle (Reef Scenics and Mantas)
- Aperture: f/8 to f/11 for depth of field
- Shutter speed: 1/125s to 1/200s to balance strobe and ambient light
- ISO: 200 to 400 in clear northern waters, 400 to 800 in murkier southern sites
- White balance: Set to 5500K or use a custom white balance with strobes. Switch to manual white balance with ambient light for blue-water shots.
Macro
- Aperture: f/16 to f/22 for maximum sharpness and depth of field on small subjects
- Shutter speed: 1/200s to 1/250s (sync speed) to kill ambient light and let the strobe do the work
- ISO: 100 to 200
- Focus: Manual focus or back-button autofocus for precision. On pygmy seahorses, manual focus is almost mandatory since they are smaller than most autofocus points.
Fast-Moving Subjects (Sharks, Schooling Fish)
- Aperture: f/5.6 to f/8 to allow more light and faster shutter speeds
- Shutter speed: 1/250s or faster to freeze motion
- ISO: Auto, capped at 1600
- Drive mode: Continuous high. Burst mode captures the decisive moment in fast-moving encounters.
How to Plan an Underwater Photography Trip to Komodo
The logistics of a photography-focused dive trip are a bit different from a regular dive holiday. Here is what to consider.
When to Go
The best time for underwater photography depends on what you want to shoot. April through November (dry season) brings the clearest water at northern sites, ideal for wide-angle reef photography. December through March (wet season) brings manta activity at southern sites, though visibility drops. Many photographers plan two trips, or pick a shoulder month like November or April that offers a bit of both.
Liveaboard vs. Land-Based Diving
For serious underwater photography, a liveaboard is hard to beat. You get three to four dives per day, access to remote sites that day boats cannot reach, a dedicated camera room with rinse tanks and charging stations, and the flexibility to revisit sites when conditions are right. Our Komodo liveaboard trips are designed with photographers in mind, with spacious camera prep areas and guides who understand that photographers sometimes need extra time at a site.
Land-based diving from Labuan Bajo works for photographers on a tighter schedule or budget, but you will be limited to two or three dives per day and mostly northern sites.
Dive Planning for Photographers
Talk to your dive guide before each dive about what you want to shoot. A good guide will position the group so photographers can work without disrupting the subject, point out critters that are easy to miss, and time the dive to match the best lighting conditions. Some tips that help:
- Do your first dive of the day at the most current-sensitive site, when conditions are typically calmest.
- Use night dives for macro subjects. Critters that hide during the day, like Spanish dancers, mandarin fish, and decorator crabs, come out after dark.
- Do not try to switch between wide-angle and macro on the same dive. Pick one lens and commit to it. You will get better results.
- Review your images between dives and adjust settings while the shots are fresh in your mind.
Protecting the Reef While You Shoot
Underwater photographers have a responsibility to protect the environments they photograph. Komodo National Park is a UNESCO World Heritage site, and its reefs are among the most pristine in Southeast Asia. A few principles to follow:
- Perfect your buoyancy before you bring a camera. If you are kicking up sand or bumping into coral, you are not ready to shoot.
- Never touch, chase, or corner marine life. Mantas and turtles will come closer when they feel safe. Chasing them only drives them away and stresses them out.
- Watch your fin kicks near the reef. A single careless kick can break coral that took decades to grow.
- Skip the gloves. They make it too tempting to grab onto the reef for stability. Learn to hold position with breath control and gentle fin adjustments instead.
- Use reef-safe sunscreen. Chemical sunscreens containing oxybenzone and octinoxate damage coral. Choose mineral-based alternatives.
Post-Processing Tips for Komodo Images
Even the best in-camera shots benefit from a bit of editing. Here are adjustments that work well for images shot in Komodo conditions.
- White balance correction: Water absorbs red light quickly, so most underwater images have a blue or green color cast. Adjust the temperature and tint sliders until skin tones on marine life look natural.
- Dehaze and clarity: A gentle boost to the dehaze slider can cut through the slight haze that particulate water introduces, especially at southern sites.
- Crop for composition: Underwater, it is hard to compose perfectly while managing buoyancy and currents. Do not be afraid to crop in post to strengthen the composition.
- Remove backscatter: Even with careful strobe positioning, you will get some backscatter particles in wide-angle shots. Use the spot removal tool to clean them up.
- Selective color adjustments: Boost the reds and oranges slightly to restore the warm tones that water absorbs. Soft corals in Komodo are naturally vivid, so a small adjustment goes a long way.